How to Host The Perfect Tailgate (From a College Senior)
October 3, 2022
Unique Halloween Party Ideas
October 24, 2022DIY Fall Crafts for Kids
Happy Fall! With many Holidays and times to celebrate with friends and family you may need a little help keeping the kids occupied. Stop searching now! Here are some of the best fall arts and crafts to get you and your family prepared for the season.
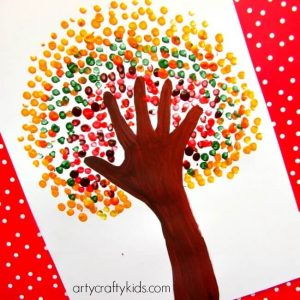
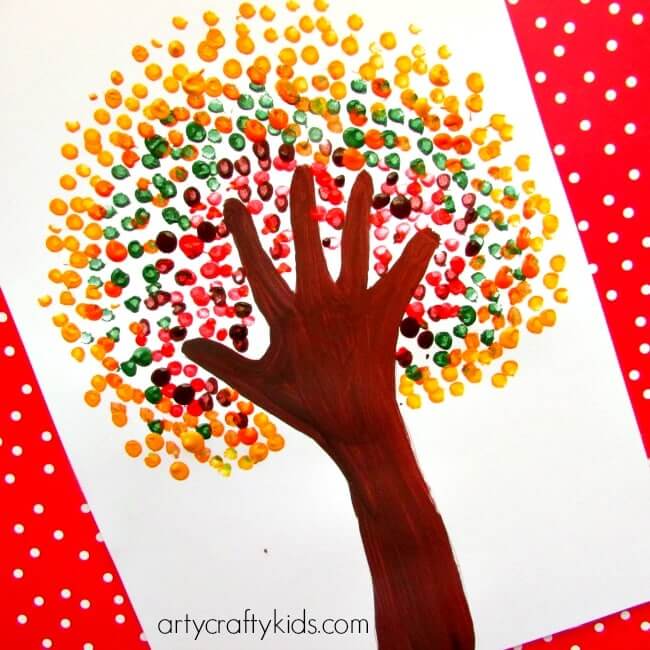
Autumn Handprint Tree Art

https://www.artycraftykids.com/art/autumn-handprint-tree/
Materials Needed:
- A sheet of white card
- Paint (Primary Colors, White and Black)
- Q-tips
Step 1. Using a pencil, draw a faint line around the hand and arm of your child. If your child is of preschool age or older, they may want to have a go themselves. Next, paint the print brown. Alternatively, simply draw around the arm directly onto a piece of brown paper and cut out the shape and stick.
Step 2. Time for the really fun bit – color mixing! This is a chance for kiddos to explore color by experimenting with primary colors to create Autumn shades of red, yellow, orange and green, oh and of course brown (every toddler can make brown!). Using a q-tip, end of a pencil or even your child’s finger, begin adding dots around the tree.
Step 3. Build the dots with different colors. Try overlapping the dots and see the print transform into an Autumn Handprint Tree!
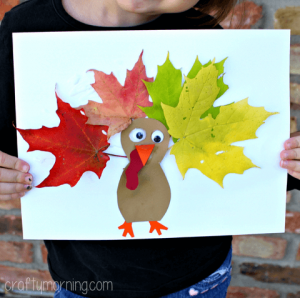
Leaf Turkey Craft

https://www.craftymorning.com/leaf-turkey-craft-kids/
Materials Needed:
- Leaves
- Glue
- Googly Eyes
- Orange, Red, Brown paper
- Scissors
Step 1: Start by going on a leaf hunt and find the most beautiful ones!
Step 2: Glue a few leaves onto a white piece of paper
Step 3: Cut out a turkey body with brown paper and add some eyes, beak, gobble, and feet!
Whimsical Fall Fairy Craft

https://www.howweelearn.com/whimsical-fall-fairy-craft/
Materials Needed:
- Yellow, Orange and Red Tissue Paper
- String
- Needle (Parent Advisement)
- Cardboard (optional)
Step 1: Begin by selecting two colors of tissue paper, stacking them on top of each other, and folding them in half.
Step 2: Cut a leaf shape out of the tissue paper, with the base of the leaf on the fold of the tissue paper. Do not cut the fold. You may wish to use a leaf template cut out of cardboard to make this easier – trace it on to your tissue paper and cut around the leaf shape (but not the base of the leaf, leave the fold in tact).
Step 3: Unfold your tissue paper. Now you will have two leaf shapes attached together by the base of the leaf (in both of the colors you chose)
Step 4: Crinkle up a little bit of tissue paper into a ball. Place that in the middle of your cut out leaves, where the base of the leaves are still attached. This will be your fairies head.
Step 5: Gather the tissue paper around this little ball, to form a tiny neck. Take a long strand of string on a needle and wrap the fairies neck with it. A great way to do this is by piercing straight through the neck, then wrapping the string around the neck many times. At the end, pierce the needle up through the top of the head, so the string comes out right through the middle of your fairies head. (And yes, I agree that paragraph sounds horribly gruesome).
Step 6: Tie your little Fall fairy onto a stick, and make her some friends.
Party Host Helpers would be delighted to assist with any of your party requirements! For every type of event, including backyard weddings and children’s parties, you can employ our event team. We offer waiters, bartenders, and general event workers for hiring for any occasion—large or small—across the nation. Our party crew is qualified, background-checked, and located in your city.


